We hope you are enjoying your summer vacation. In the meantime, we continue to work on improving iO to deliver you better capabilities and functionalities.
If you are already a customer, you can also go to our helpdesk and check our step-by-step guide to use these new features.
Data
Export filtered data
After applying a smart filter to the report view, if you click on Export data, you will get two options:
1- Export all data
2- Export filtered data
Based on your selection, an email will be sent to you to download the data (all or filtered) as an Excel file.
Added info in data export
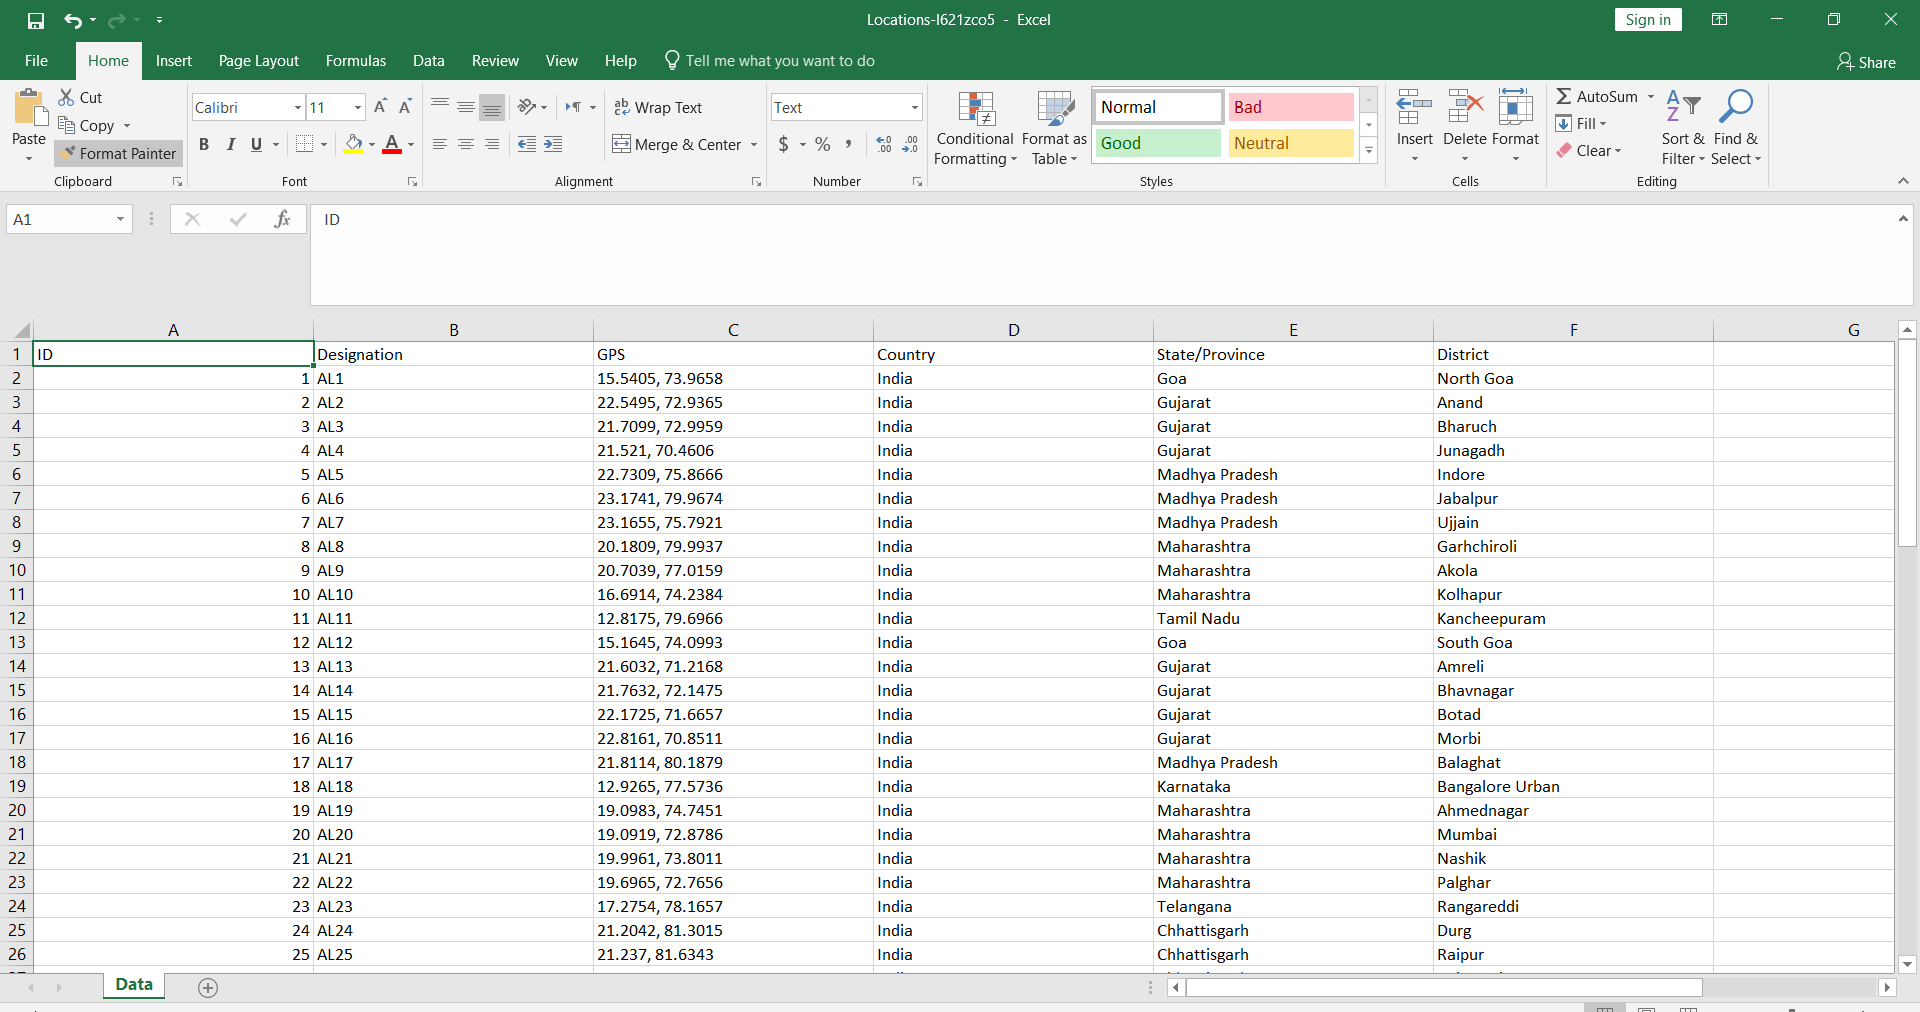
If you have a designation added to your data structure, it will now show this column and the corresponding value in the exported excel sheet.
Report Name in Exported File
After you export the data, you will get an email with an Excel file to download. The downloaded file will now contain the report's name (limited to 27 characters).
Media albums
1- Under the Image and Video fields, you can allow adding multiple images/videos to create an album. All you need to do is to define the minimum number of images to be greater than 1.
2- A new field was added: Album. Under this field, you can add both images and videos.
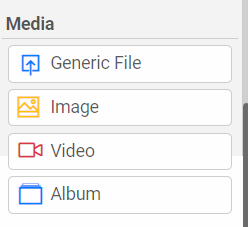
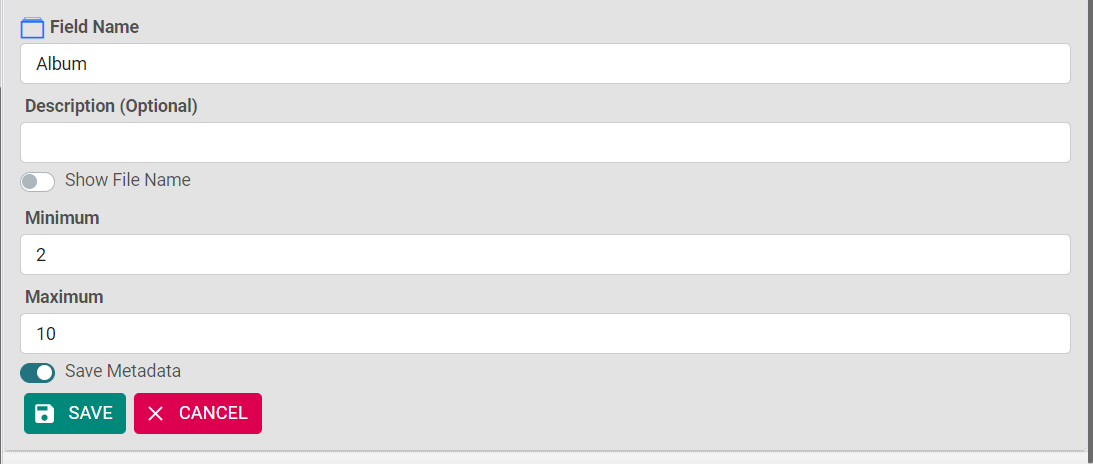
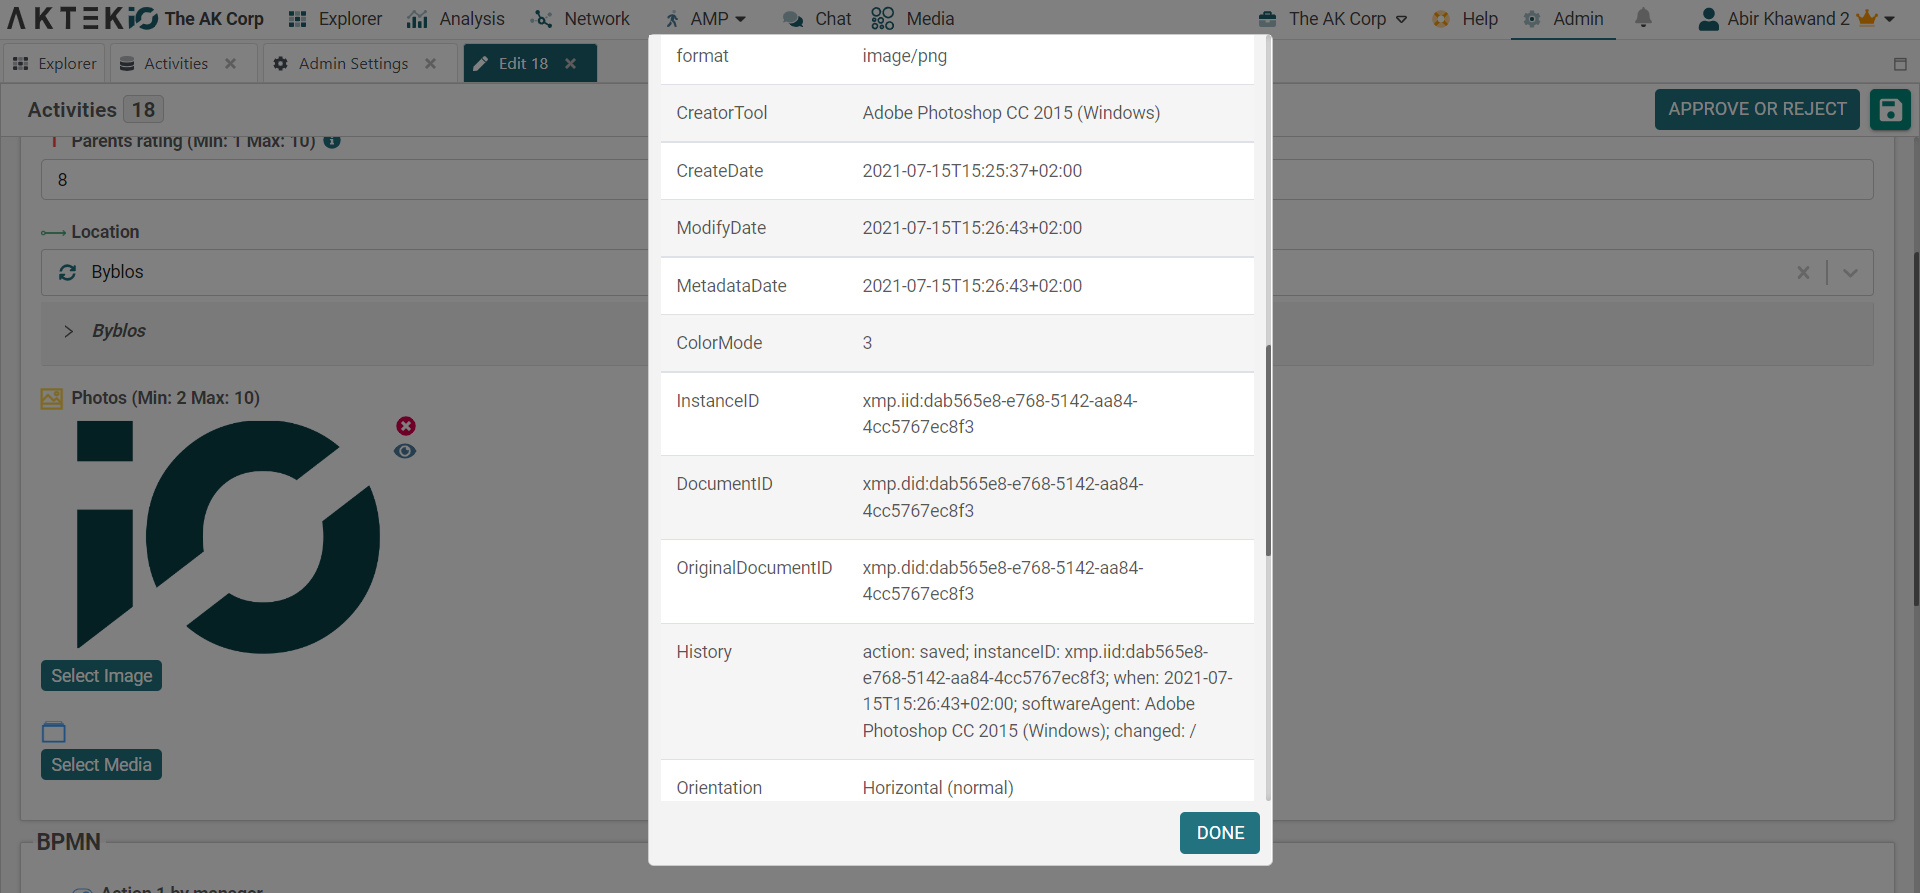
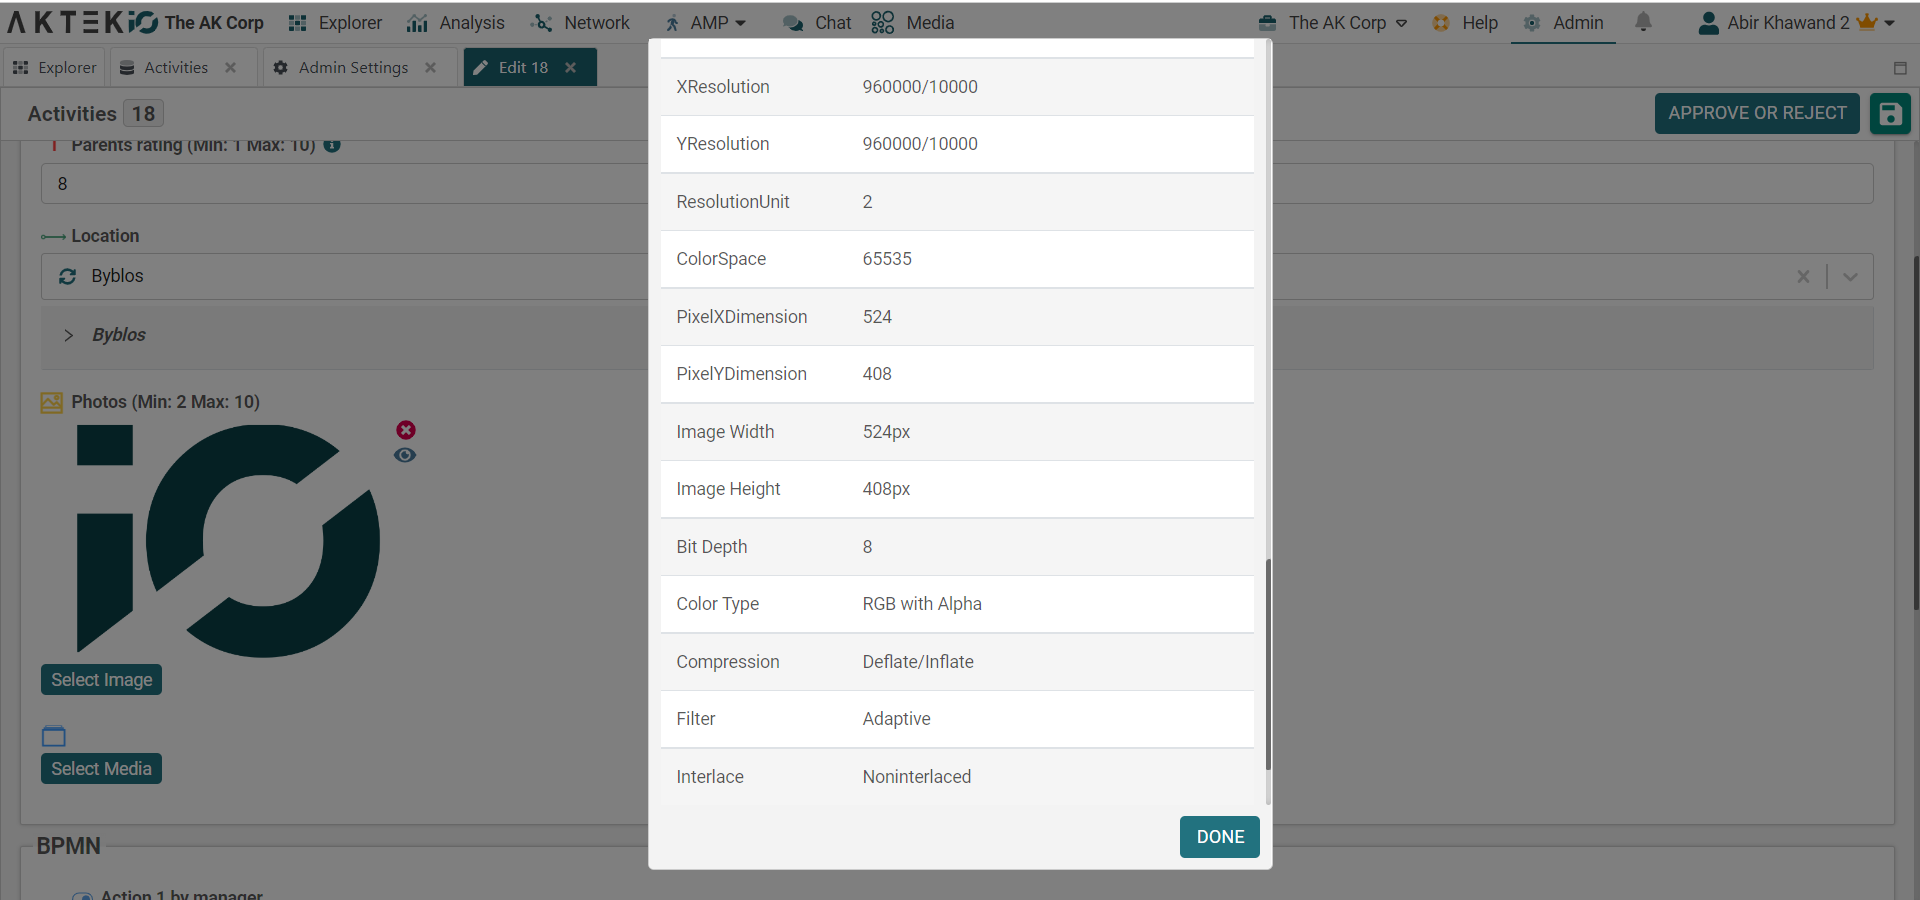
Image Metadata
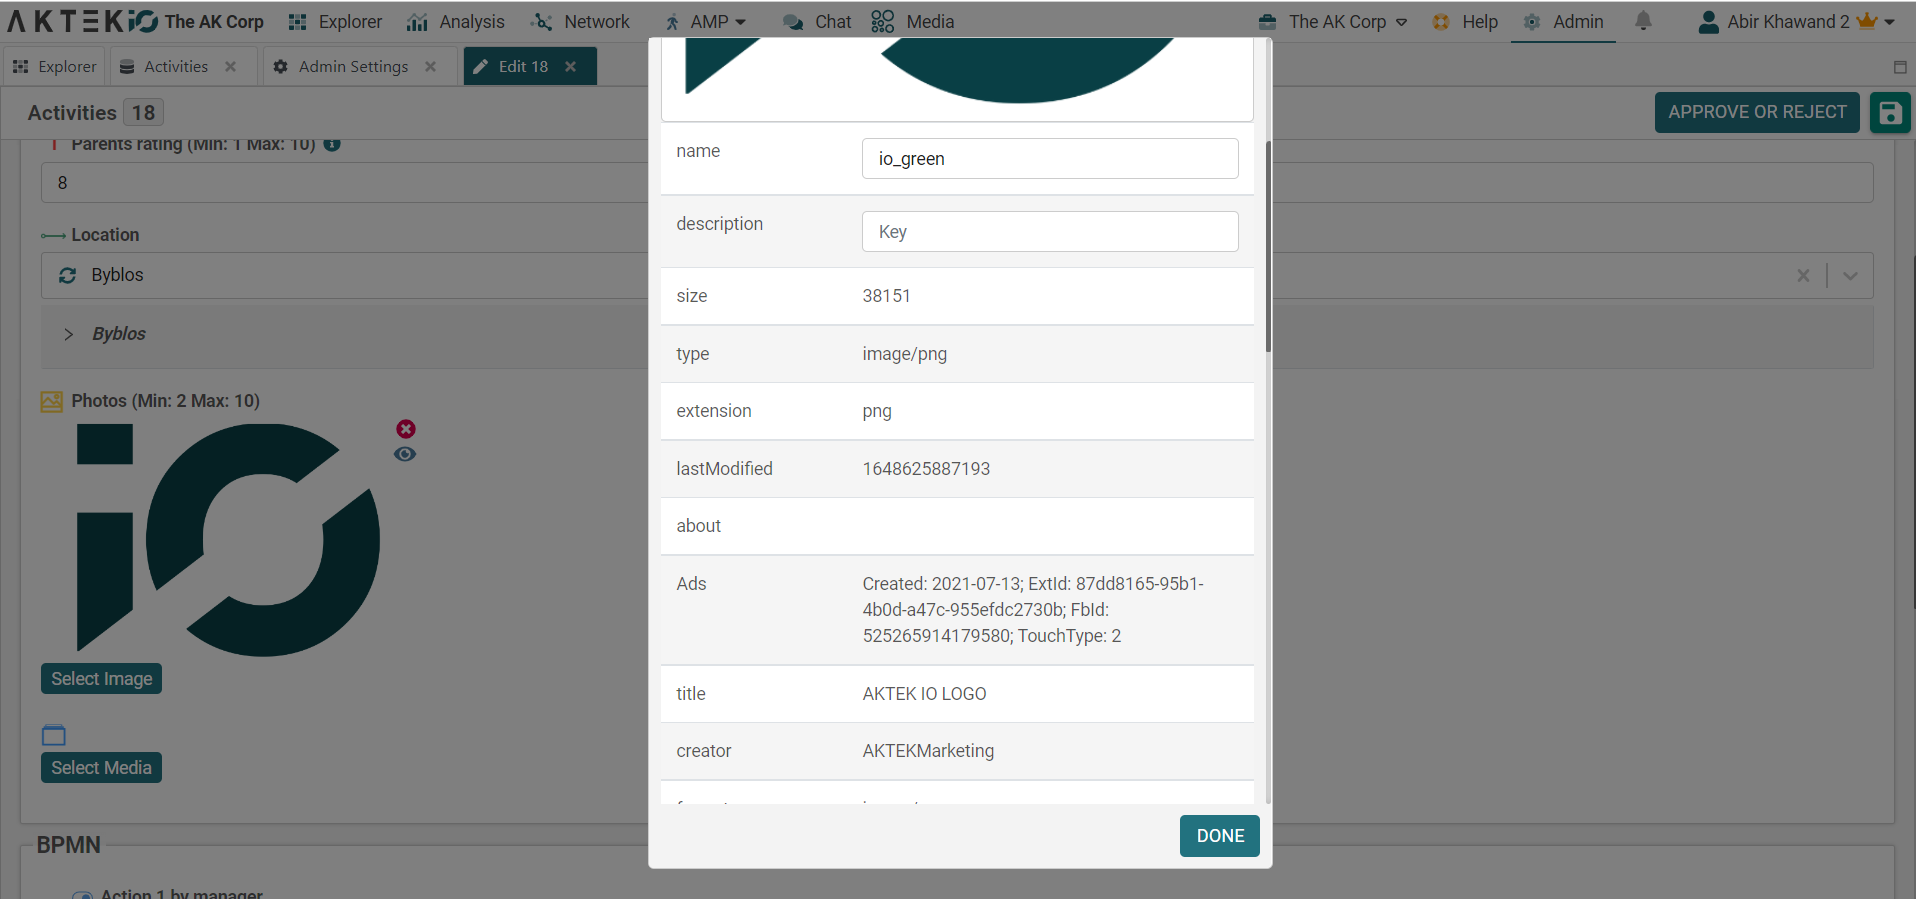
While creating the data structure, enable Save Metadata in the configuration of the image field and in Video and album fields.
This will allow you to automatically upload the metadata of the media file and save it when you upload an image or video.
Tables
Table options
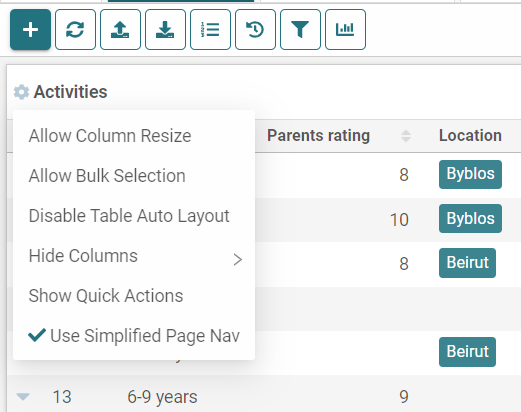
In all table views of the app, you can find the display options on the top left of the table. (i.e. Table of users, table of roles, reports, etc.).
These options include the following:
1- Allow Column Resize: move the mouse between the borders of the columns to resize manually.
2- Disable Table Auto-layout: this will allow you to resize a column beyond the minimum size.
3- Hide Columns: You can select the columns you wish to hide here.
4- Show Quick actions: the full row menu will be displayed in this case.
5- Use a Simplified Page Navigator: Only prev/next options will be displayed for paging.
6- Allow Bulk Selection: This option will only be available on the reports view.
Network
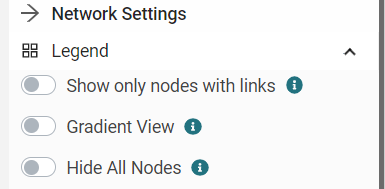
Hide all nodes
Under Network Settings > Legend, we have added a toggle to Hide all nodes. You can then enable them one by one under the report legend.
Allow opacity to go to zero
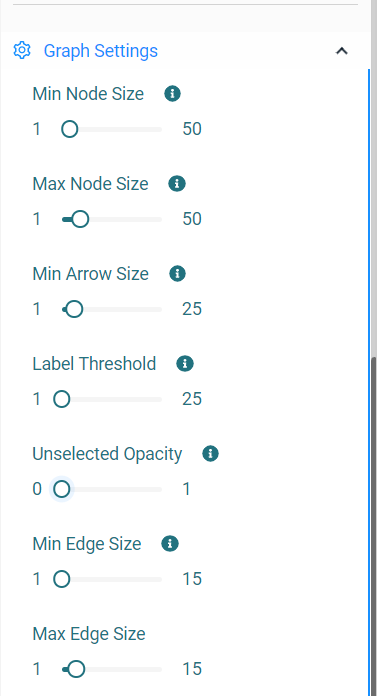
Under network settings > Graph settings, the Unselected Opacity can be set to zero to hide totally unselected nodes and edges.
Company Settings
Geo settings
Under Geo settings, we have added the Default map base layer. You can select Street, Satellite, or Topographic to show by default on all the maps on iO.

Security
You can now disable the Two Factor-Authentication company-wide. In this case, the 2FA will be turned off even for super admins. However, it’s highly recommended to keep the default settings.

Dashboard
Bar and Line Charts
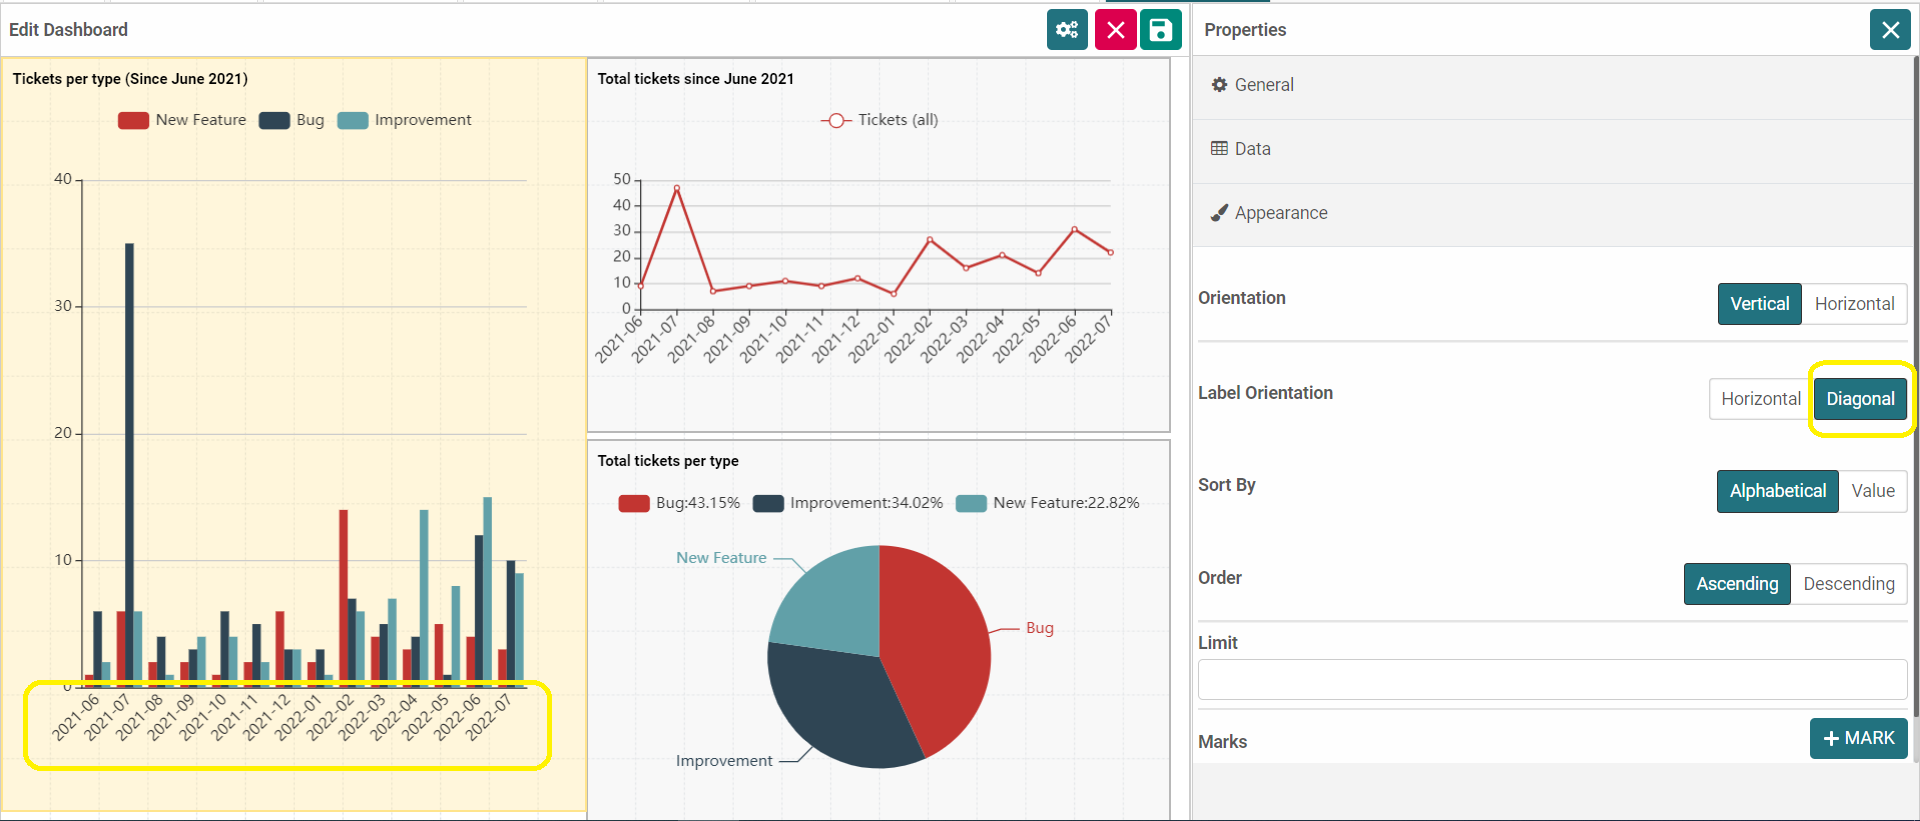
Under Appearance, we have added Label orientation with 2 options: Horizontal and Diagonal.
It's advised to use diagonal when you have a high number of bars, in order to fit more labels on the display view.
Ready to get started on AKTEK iO?
Click here to learn more.


-1.jpg?width=300&name=Blog%20Link%20Preview%20Image%20(8)-1.jpg)
-png.png?width=2240&name=Blog%20CTA%20(31)-png.png)